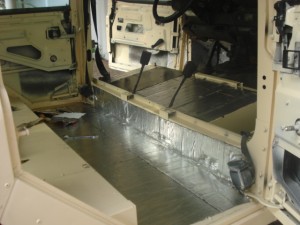
What with all the body work and painting of the past six months most of the interior and exterior fittings were removed and put aside, either on our terrasse or carport or in the shed at Opere’s. I have become quite accustomed to driving around in a vehicle with no door panels, mirrors, or window winders, that is so empty and hollow it rattles and bangs and echos. The past month or so has seen tremenduos progress restoring the interior finish.   I had not been in a rush to put it back together, until Opere told me that the Department of Vehicle Licensing will not pass it if the interior is not finished, or if the rubber wheel arches are not on.  One might argue the logic of some of that, or wonder how the tro-tros driving around with doors hanging by rope managed to pass, but I don’t mind the additional incentive.
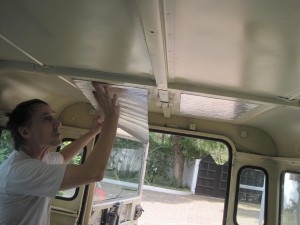
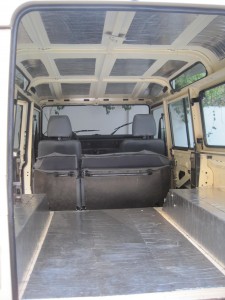
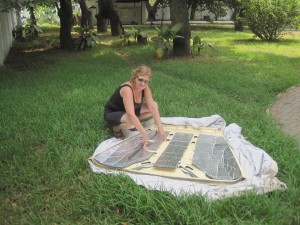
The work needed to get the inside finished, not kitted out for expedition, but just finished, will involve three steps: soundproofing, electrical carpet and ceiling, and reinstallation of door panels and interior trim.  The soundproofing had to be done first, and fortunately we were very ready for that, having obtained the material sometime ago from B-Quiet in Lethbridge, Alberta. (See Separate Post: SOUND REDUCTION PUZZLE)  Laura and I did the installation ourselves, starting with a layer of “Ultimate” the thin butyl-based sound deadener throughout, on the inside of all the doors, the floor, and the roof.  It is not difficult to work with once you get the hang of cutting it with a box cutter. The two challenges are to make sure it is set where you want it because it is almost impossible to move once it is on, and to avoid getting the rather gooey butyl rubber stuck where it is not supposed to be stuck. I had to use some acetone more than once to get it off surfaces where it did not belong, including on the outside paint.
Once the Ultimate was in on the floor we added a layer of B-Quient’s V-Comp foam and high density rubber composite sound absorber. This stuff is heavy, more than a pound per sq ft. and we did not have very much of it, just enough for the front floor through the footwells and over the transmission, the tops of the seat boxes, and the back floor. But every little bit helps.
I was able to use some of the rubber flip flop material I bought from Ghana Rubber Products on some floor areas and inside the seat boxes, but there is lots lof that eft over.
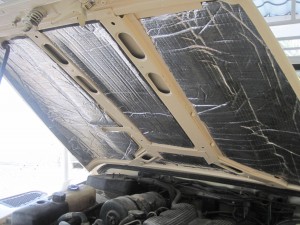
We then we covered the underbonnet with their Hiliner heat resistant foam. This is much lighter than either the Ultimate or the V-Comp, which means we can still lift the bonnet!
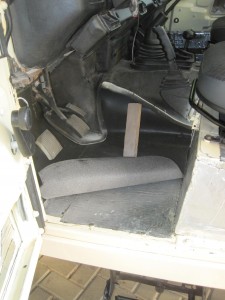
Cab floor with "Ultimate" deadener with V-comp foam and rubber going in on floor and transmission tunnel.
The sound “proofing” adds about 75 pounds to our running weight, but it is definitely worth the weight, and the CAD 300 cost. The noise reduction is quite remarkable and the whole vehicle feels more solid and finished. That will no doubt improve further once we get the interior door panels and roof liner back in, and get carpet on the floor.
